New-PublicFolder -Name 'Absence Calendars' -Path '\' -Server 'mbx01.company.com'
New-PublicFolder -Name 'Accounts Payable' -Path '\Absence Calendars' -Server 'mbx01.company.com'
Add-PublicFolderClientPermission -User username -AccessRights owner -Identity "\Absence Calendars\Accounts Payable"
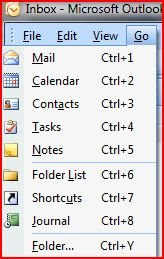
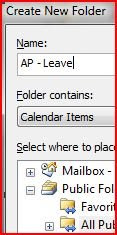
 Once in Outlook open up the Folder List (Go -> Folder List) to see the public Folders (it's at the bottom). You should see the new folder created (in our case Absence Calendars). Right click on the Absence Calendars public folder and go to Create New Folder. In the Create New Folder dialog Choose Calendar Items and a name (I chose AP - Leave).
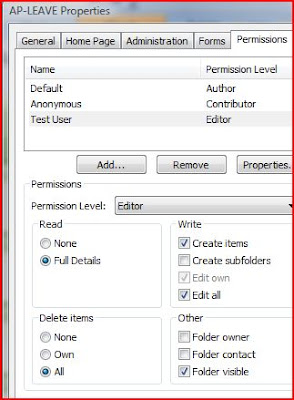
Now, right click on the new Calendar you just created and select "Change Sharing Permissions...". I usually set the department manager as the Editor and set everybody else to Author. This gives employees the ability to add items to the Calendar and allows the Manager to add / delete all the items. You may want to lock this down further by only allowing the employee's the ability to see the calendar and have the manager add all items once approved. In this case you should set the Default to Reviewer, Anonymous to None, and Manager(s) to Editor.
